
Managing library hall bookings manually for every program conducted by various departments has become a challenging task for me. In my search for a solution, I realized the need for a system that enables teachers and students to book the hall without my intervention. I conducted extensive research to find an effective solution to manage the high demand for our library hall, and my efforts led me to discover MRBS (Meeting Room Booking System), a web-based reservation system that is both free and open-source, capable of handling everything from room booking to resource scheduling.
Features:
- Web/Intranet based - Available from any workstation through a Browser
- Simple to follow, Web based options and intuitive presentation
- Flexible Repeating Bookings
- Authentication with your existing user database (eg Netware, NT Domain, NIS etc.)
- Ensures that conflicting entries cannot be entered
- Reporting option
- Selectable DAY / WEEK / MONTH views
- Multiple auth levels (read-only, user, admin)
- Support for bookings by time or period - ideal for use in schools/colleges
- Room administrators can be notified of bookings by email
Here are the server specifications I used:
- Operating System: Debian 11
- RAM: 2 GB
- Storage: 10 GB
- SSH connection
- Created a "mrbs" subdomain pointing to the server's IP under the master domain.
If you're ready to get started, let's dive in!
Update the System
Before proceeding with the installation, update your Debian 11 system to the latest version:
sudo apt update && sudo apt -y upgrade
Install Required Packages
To install the required packages, run the following command:
sudo apt install -y apache2 apache2-utils software-properties-common mariadb-server mariadb-client php libapache2-mod-php php-mysql php-iconv
Securing MariaDB
Run this command to improve the security of the MariaDB installation:
sudo mysql_secure_installation
Navigate to the web root directory:
cd /var/www/html
Download the MRBS 1.11.0 package:
sudo wget https://excellmedia.dl.sourceforge.net/project/mrbs/mrbs/MRBS%201.11.6/mrbs-1.11.6.zip
Unzip the downloaded package:
sudo unzip mrbs-1.11.0.zip
Rename the extracted directory for easier access:
sudo mv mrbs-1.11.0 mrbs
Set the appropriate ownership for the web server user:
sudo chown -R www-data:www-data mrbs/web/
Set the correct permissions for the web directory:
sudo chmod -R 755 mrbs/web
Copy the sample configuration file to the actual configuration file:
sudo cp mrbs/web/config.inc.php-sample mrbs/web/config.inc.php
Edit the configuration file to customize your MRBS setup:
sudo vim mrbs/web/config.inc.php
Create a Virtual Host
Create a virtual host for MRBS:
sudo cp /etc/apache2/sites-available/000-default.conf /etc/apache2/sites-available/mrbs.conf
sudo nano /etc/apache2/sites-available/mrbs.conf
In the editor, update the configuration file as follows:
<VirtualHost *:80>
ServerAdmin admin@yourdomain.com
ServerName mrbs.yourdomain.com
DocumentRoot /var/www/html/mrbs/web
<Directory /var/www/html/mrbs/web>
Options Indexes FollowSymLinks MultiViews
AllowOverride All
Order allow,deny
allow from all
</Directory>
ErrorLog ${APACHE_LOG_DIR}/mrbs_error.log
CustomLog ${APACHE_LOG_DIR}/mrbs_access.log combined
</VirtualHost>
Disable the default Apache virtual host and enable the MRBS virtual host:
sudo a2dissite 000-default.conf && sudo a2ensite mrbs.conf
Restart the Apache webserver to apply the changes:
sudo systemctl reload apache2 && sudo systemctl restart apache2
Create a Database and User
To store the MRBS data, we need to create a new database and user in MariaDB. Here are the steps to create a database and user:
Log in to the MariaDB shell as root:
sudo mysql -uroot -p
Create a new database and user for MRBS:
CREATE DATABASE mrbs;
CREATE USER 'mrbs'@'localhost' IDENTIFIED BY 'mrbs123';
GRANT ALL PRIVILEGES ON *.* TO 'mrbs'@'localhost' WITH GRANT OPTION;
FLUSH PRIVILEGES;
quit;
Note: Replace mrbs123 with a strong password of your choice.
Import the MRBS Tables
Now that the database and user are created, we need to import the MRBS tables into the database. Here are the steps to import the tables:
Import the tables using the following command:
sudo mysql -u root -pyourmysqlrootpassword mrbs < /var/www/html/mrbs/tables.my.sql
Once the tables are imported, we need to configure MRBS to use the newly created database.
Configure MRBS
To configure MRBS to use the newly created database, we need to update the configuration file. Here are the steps to update the configuration file:
Open the configuration file in a text editor:
sudo vim /var/www/html/mrbs/web/config.inc.php
Change the following settings under the "Database Settings" section:
$dbsys = "mysql";
$db_host = "localhost";
$db_database = "mrbs";
$db_login = "mrbs";
$db_password = "mrbs123";
Note: Replace mrbs123 with the password you set in the previous step.
Save and close the file.
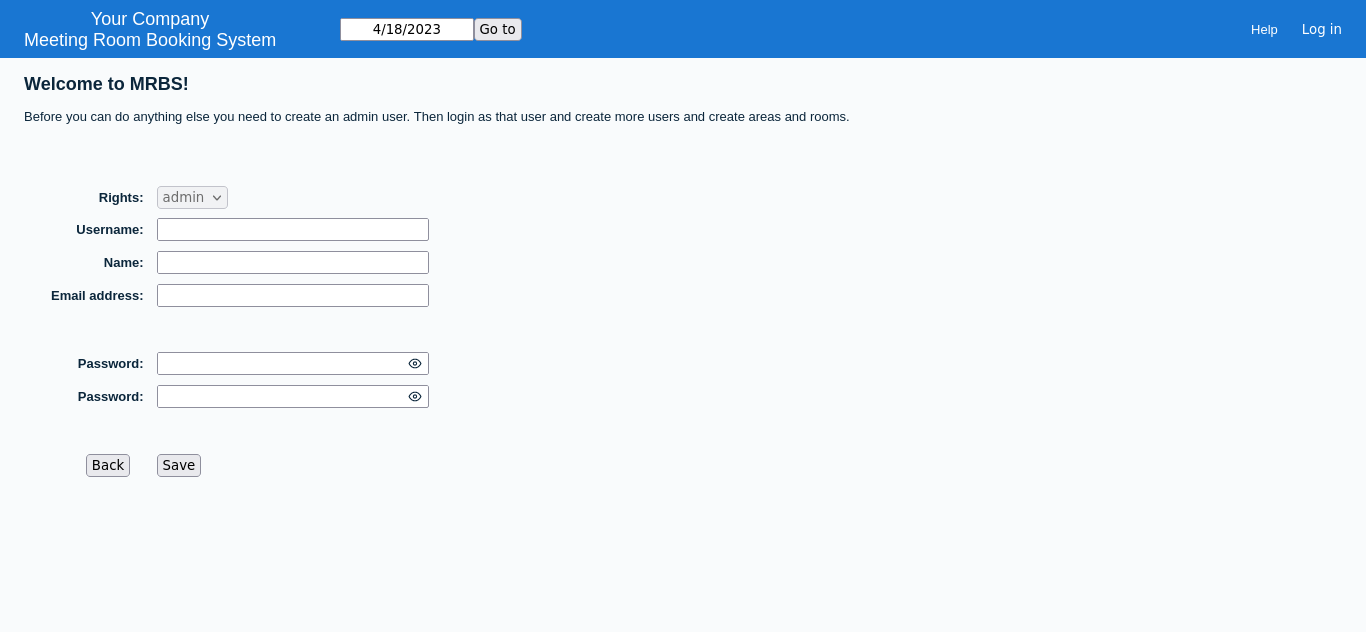
Access the MRBS Application
Now that MRBS is installed and configured, we can access the application from a web browser using the URL http://mrbs.yourdomain.com
Reference: https://mrbs.sourceforge.io/view_text.php?section=Documentation&file=INSTALL


